When you’re marketing your online business, the fastest way to attract or deter a potential customer is through your imagery. If your images look professional and are interesting to look at, your business will be seen as legit and people will be more likely to remember you when they’re ready to spend. On the other hand, if your images consistently look low-budget, as though they were snapped with your iPhone camera, your audience be enticed to invest their money into your business or product (even if it’s the latest model iPhone and set on Portrait Mode AND you slap a filter on it… sorry ‘bout the facts, friends!). Ready to elevate your product photography to match the direction you want your business to grow? Keep reading! I’m sharing 7 quick tips to improve your product photos to help you do just that!
1. Light it UP!
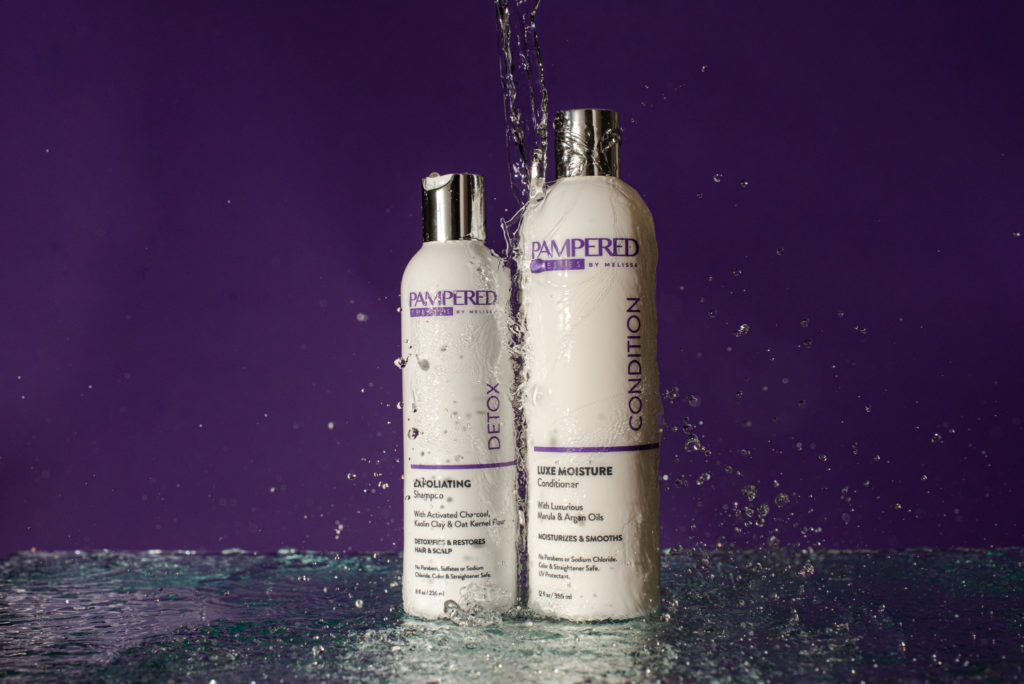
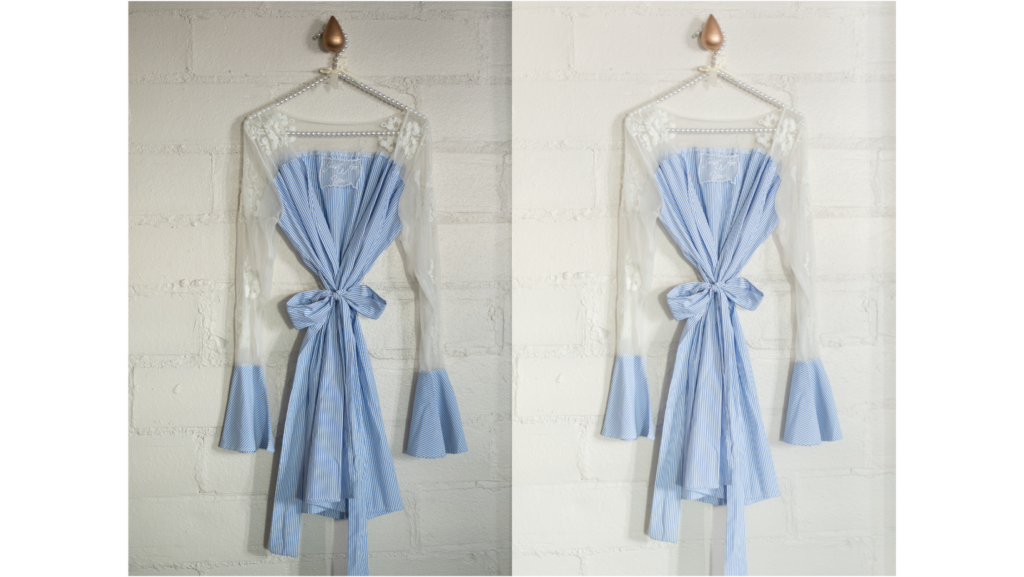
This is a no-brainer! When your audience sees dark, grainy images with heavy shadows (that clearly aren’t part of the artistic style of the photograph), they equate the low quality of the image as matching the quality of the product (that’s a problem!). Clean, even lighting that illuminates the product without distracting shadows is key to achieving a professional look. Use natural (from the sun) light or diffused artificial light to get the look you’re going for. It’s important to avoid using typical overhead lighting as it often will give your images a very warm (yellow) tint which is unappealing. Good lighting is THE MOST IMPORTANT way to improve your product photos.
Bonus tip:
You can create reflectors by utilizing white foam-core boards to bounce light throughout your flat lay for maximum shadow reduction and to keep lighting nice and even throughout the image.
2. Work Those Angles to Improve Your Product Photos!
Angles are important in making your images look appealing. Have you ever watched the way teenage girls pose themselves when taking Instagram photos? (If you hang out in trendy areas with notable landmarks or mural walls, you surely have!) If you’re unsure what I’m talking about, it basically goes down like this:
Twist at the waist, pop the front knee, lean forward, chin out and down (and sometimes an off-camera laugh if they’re going for an “oh! You’ve caught me in a casual moment when I had no idea my picture was being taken!” vibe)
Do you know why all of these steps are important before the shutter is clicked? It makes them look GOOD! Flattering angles are important for products, too! Pay attention to the way your images look and if your product looks distorted or awkward in the shot. More often than not, you just need to adjust your angle to give it a true-to-life appearance. Try shooting the product straight on as well as different variations so that you can maximize the number of images you have to utilize.
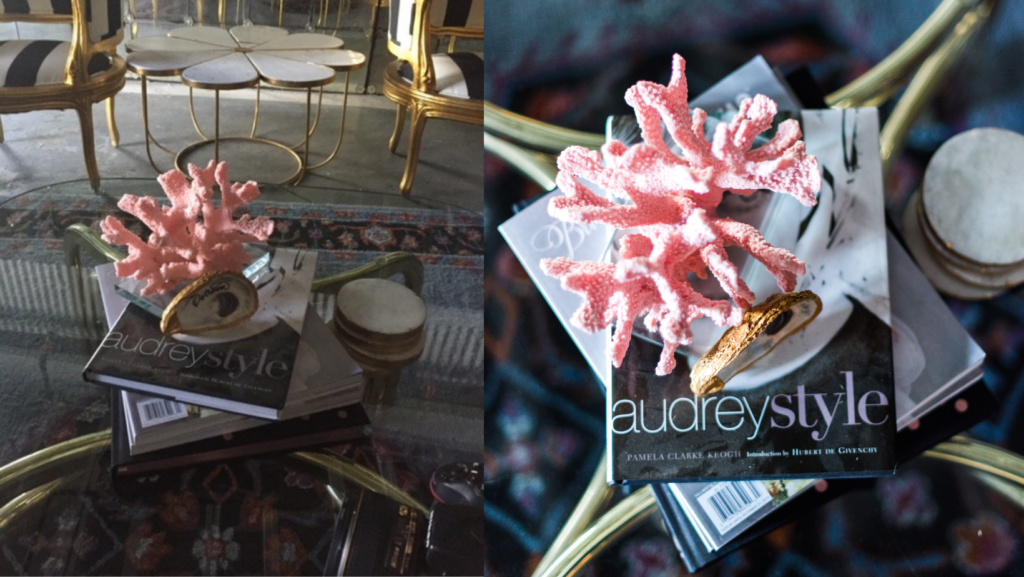
3. Stay Composed

The composition of your images is important. Like, really important. Great composition is what determines if an image is interesting or not. If your images are boring or awkward, your audience is less likely to stop scrolling long enough to notice you. You want your composition to walk the viewer’s eye through the image. To make them stop and take notice of what you are showing them. In order to do this, I recommend following the Rule of Thirds (In brief: divide your image into a grid of thirds. The main focus point should be on one of the grid lines (usually to the right or left, not in the center) for the sake of interest). Keep the props in the image balanced and incorporate negative space so that the image is not overwhelming. If you look at the image and it just feels too “busy”, remove some of the items and reshoot so the focus of the image falls on the product and not all the “stuff” around it. Use colors—ESPECIALLY your Brand Colors—to create visual interest and help your audience subconsciously tie the image back to your brand.
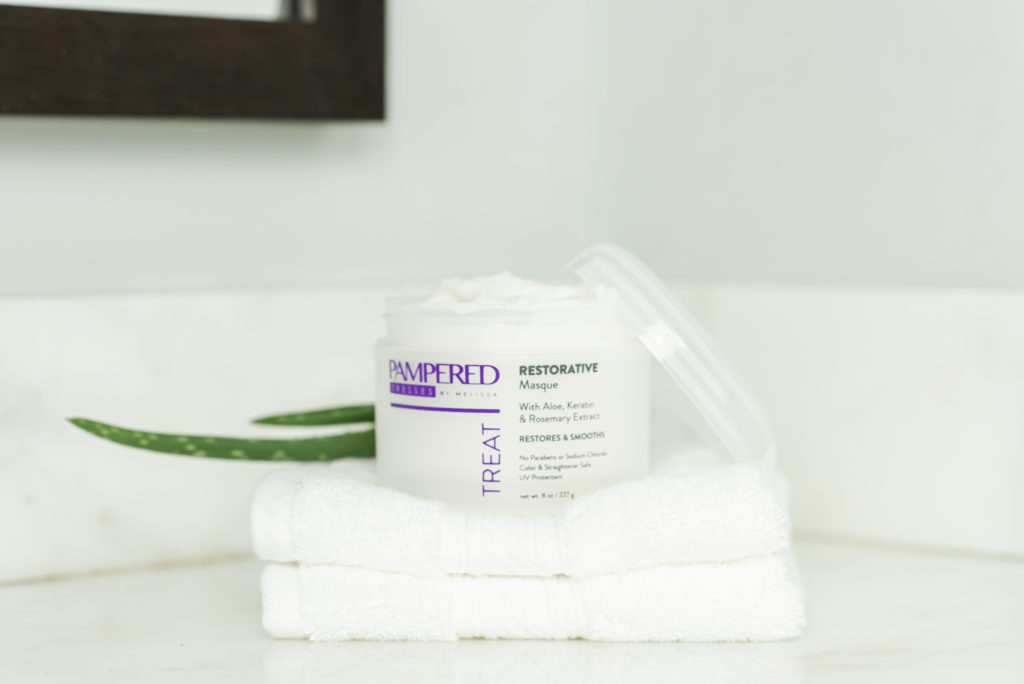
4. Props, Props, Props
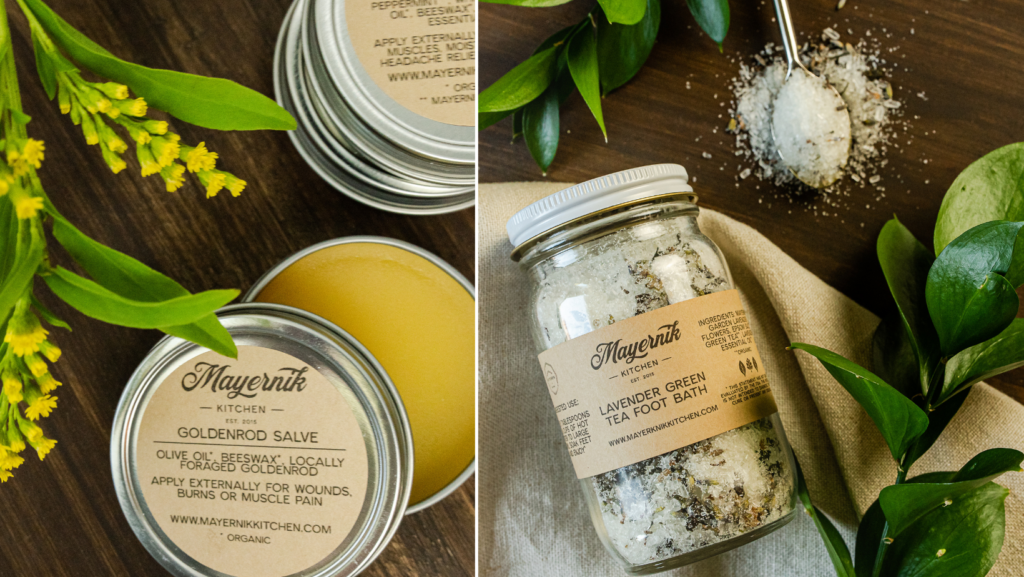
Utilize props that make sense. For example, if you sell handmade bath soaps, you probably wouldn’t want to shoot your product in your garage (that’s a dramatic example, but it paints the picture, right?). Shoot your images where it makes sense that your product would be and with complimentary props. If I were shooting handmade bath soaps, I would consider a clean, sleek background and include bath salts, loofas, soft towels, and, of course, incorporate the brand colors into the shots. Anything goes as long as the props make sense with the story you are telling or are on-brand for your business. I always ask my product clients to complete my Product Questionnaire so I can be sure to capture the aesthetic of their brand and give them images that match the Brand Story that they’re telling.
5. Cut the Clutter!
Be sure to remove any clutter in the background of your images. Shooting a photo of your product on your kitchen counter? Move the toaster first! (or at least style it so it flows with the image). You’ll easily improve your product photos simply by removing distracting items from the background.
6. Make it Seamless!
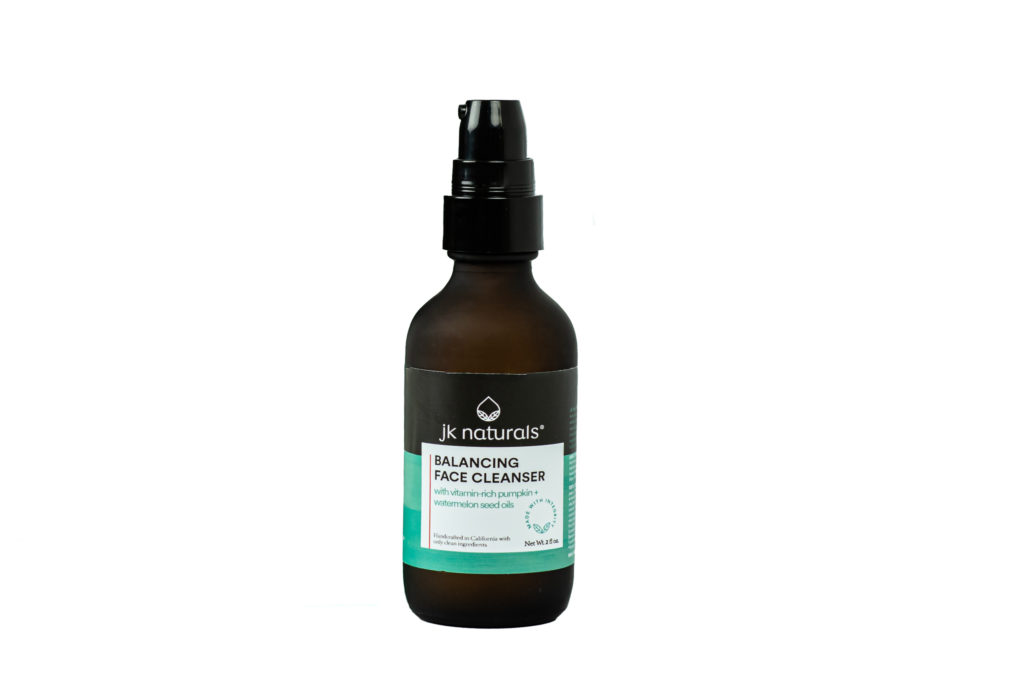
If you’re in need of Feature-Product photos for your sales page or to utilize on Amazon or other retailers be sure to utilize seamless white (or whatever color captures your vision) paper to avoid horizon lines in your image. You will also want to be sure that your lighting and white balance are accurate so the image is true-to-color and doesn’t look dingy, too yellow or too blue against the white sales-page background on a computer screen.
Bonus Tip:
While inaccurate White Balance can be corrected in post-processing (editing), poor lighting is trickier. Simply increasing your exposure in post-processing will cause your image to look flat, grainy and unprofessional (aka- cheap!), Be sure to find good lighting before taking your shots so the final images will reflect the quality of your products!
7. Stay Focused and Consider Your Aperture

Aperture refers to how wide the hole is that allows light to hit the lens of your camera. A very wide aperture (f/1.4, for example) will give you a nice bokeh (blur in the background) while a small aperture (f/5.6 and higher) will yield a more in-focus image. There is no “right” or “wrong” when it comes to your aperture, it depends more on what your vision is for your images. I like to mix it up to create a lot of visual interest in the galleries that I deliver. The most important thing is to be sure that the product is in focus. If the product doesn’t look sharp in the image, the whole image will appear unprofessional and so will your business.
There are a lot of steps and considerations when it comes to planning a product photoshoot. I hope these tips help you to improve your product photos. If you’re interested in learning more, I’d be happy to talk to you about how I can help to elevate your digital sales through scroll-stopping images that level-up your business. My Product Photography packages are completely customizable and include a Product Photography Questionnaire and a 30 minute Strategy Call so I can be sure to deliver exactly what you’re looking for. Have you seen my work? Jump over to my Product Gallery or visit me on Instagram to learn more about what I have to offer!

0 COMMENTS